EN
EN

Epoxy Potting Compound Bubbles: How Vacuum Mixing Protects Your Encapsulated Electronics
Your potting quality is decided in the mixing bowl, long before the curing oven gets involved.
Potting compound vacuum degassing mixer guide: how voids, filler agglomerates and mixing heat ruin encapsulated electronics, and how temperature control fixes them.
Epoxy potting compounds shield transformers, power modules, LED drivers, sensors, and battery packs from moisture, shock, and short circuits.
Most manufacturers treat the curing step as the moment of truth — but the quality of a potted component is actually decided earlier, in the mixing bowl.
Poor mixing quietly guarantees poor curing, no matter how good the oven is.
Three Problems That Follow a Badly Mixed Potting Compound
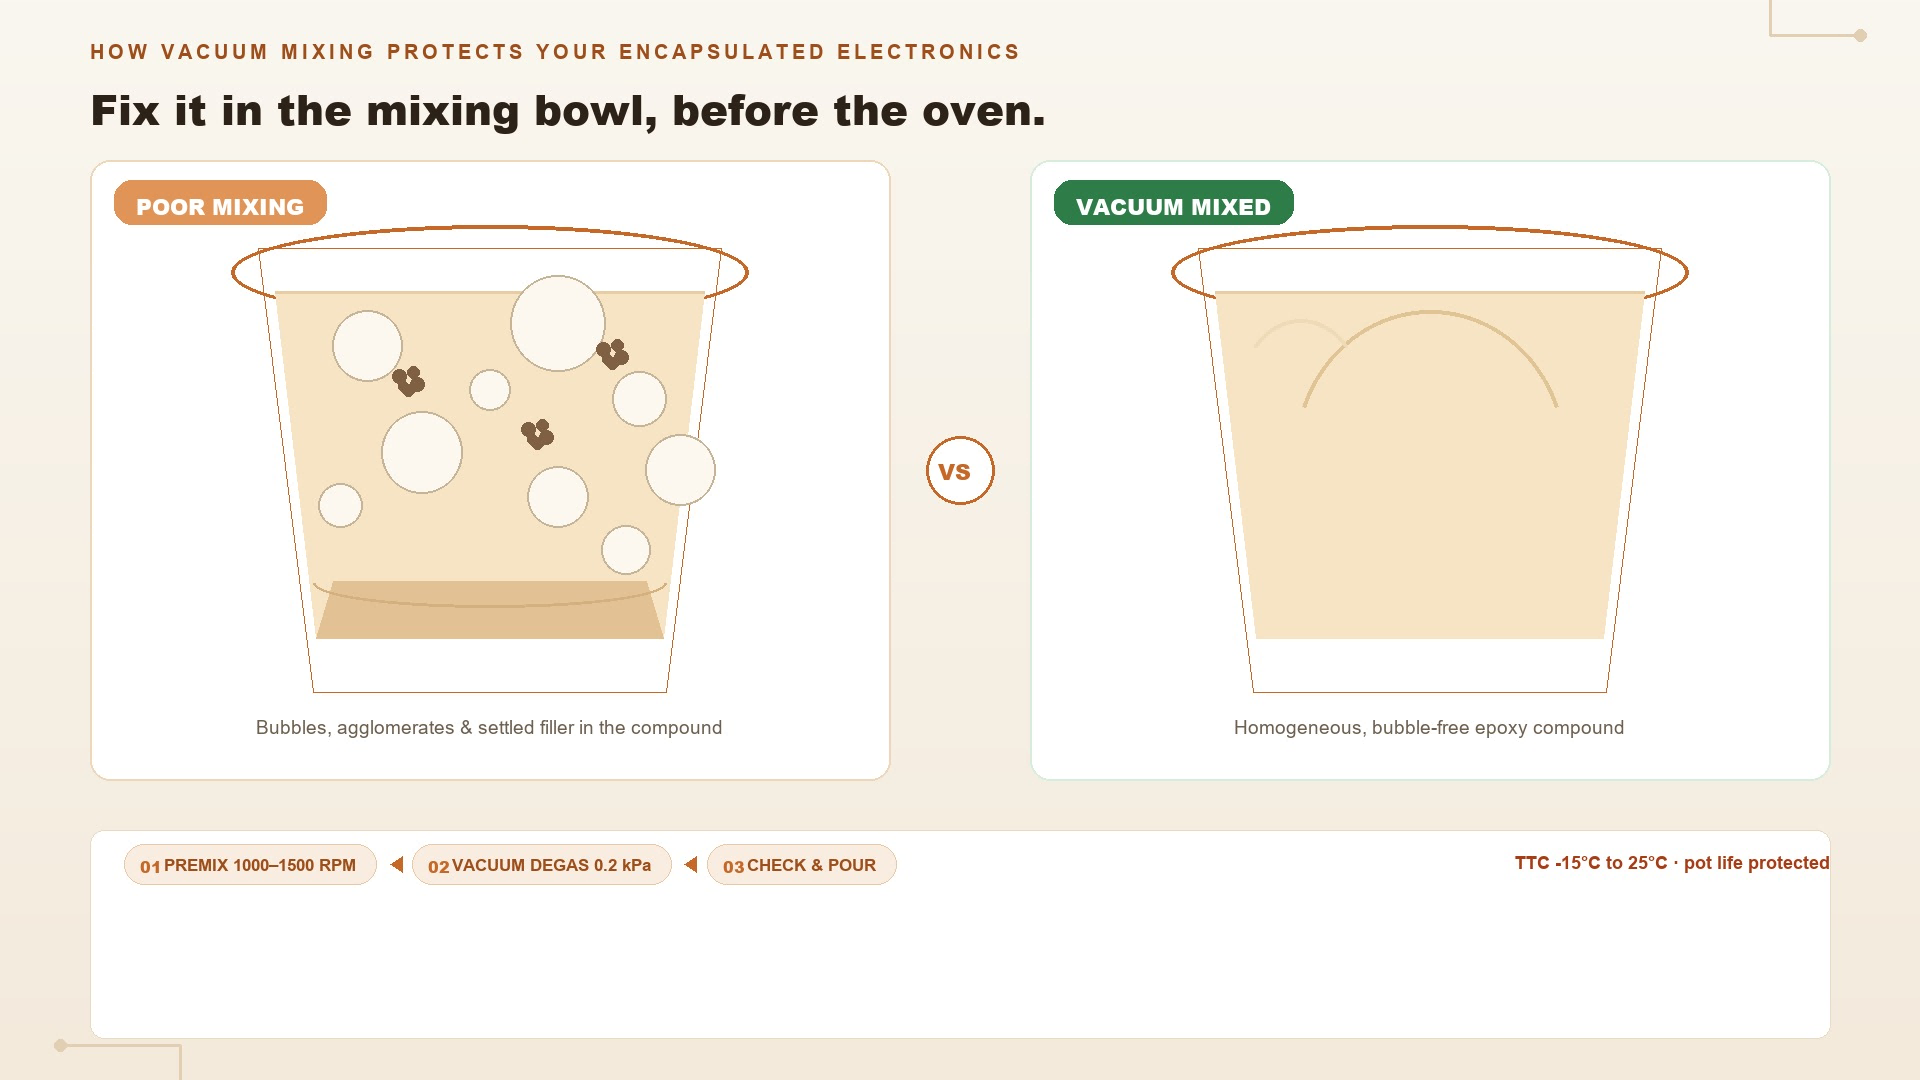
1. Filler agglomeration.
Thermal fillers such as alumina and boron nitride clump easily, with initial particle sizes of tens of microns.
Agglomerates break the thermal conduction network, create local hot spots, and leave heat stranded inside the component.
2. Entrapped air.
Hand stirring or high-speed impeller mixing folds air into the resin.
When the compound cures, those bubbles become voids — lower dielectric strength, surface blistering, and rapid property degradation under humidity.
3. A shrinking working window.
Friction heats the mix as it stirs.
Heat accelerates the epoxy reaction, which means the pot life you planned for is quietly disappearing while you mix.
The Recommended Potting Process
Step 1 — Weigh and premix.
Combine the A and B components with the filler and premix evenly on a centrifugal mixer (example: 1000–1500 rpm for 1–3 minutes).
Premixing wets the filler and homogenizes the base before degassing.
Step 2 — Vacuum degas.
Switch to vacuum mode (0.2 kPa-class, 2–5 minutes).
The vacuum and centrifugal force together pull the microbubbles out of the resin — no waiting, no repeated passes.
Step 3 — Check and pour.
Confirm with a grind gauge or microscope that no agglomerates or bubbles remain, then dispense.
A clean, bubble-free compound flows better and wets components more completely.
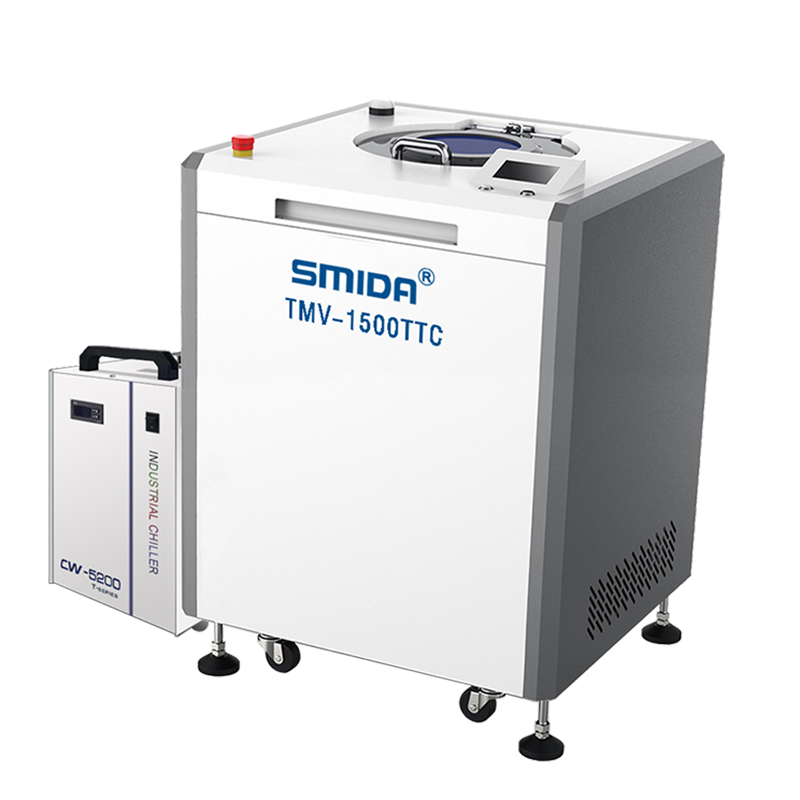
Run the whole process on a temperature-controlled machine where possible.
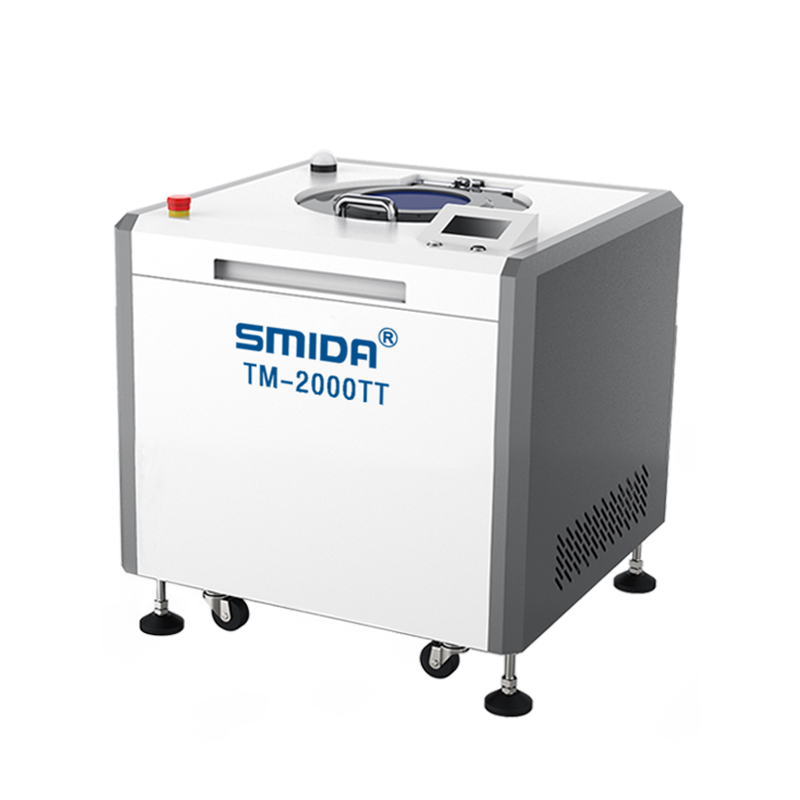
SMIDA's TTC models hold the compound between -15 °C and 25 °C, which suppresses heat build-up, extends the epoxy's working life, and gives your dispensing team a comfortable window instead of a race.
Why Blade-Free Mixing Matters for Epoxy
Hard fillers like alumina are abrasive.
On a blade mixer, they grind the impeller and the tank wall, and the resulting metal debris ends up inside the compound — an insulation-failure time bomb.
SMIDA's non-contact design means the only surface the epoxy touches is the cup.
No wear, no debris, no second source of contamination.
Frequently Asked Questions
How do bubbles affect a potted electronic component?
Voids left by bubbles reduce dielectric strength, create weak points under thermal cycling, and let humidity penetrate.
In high-voltage or automotive applications, they are a direct reliability risk.
Can a vacuum mixing degassing machine replace a vacuum chamber?
For high-viscosity epoxy, yes — and faster.
The vacuum chamber waits for bubbles to rise; the centrifugal mixer actively drives them out while pulling 0.2 kPa vacuum, cutting degassing from hours to minutes.
Why is temperature control recommended for epoxy?
Epoxy reacts faster as temperature rises.
Uncontrolled mixing heat shortens pot life and can cause partial gelation in the mixing cup.
A temperature-controlled mixer keeps the compound inside its process window.
What size of mixer do I need for potting compound?
Match the machine to your batch weight: from 1 g R&D samples to 100 kg+ production batches.
SMIDA will size the model from your target batch weight and daily volume.
The Bottom Line
Every cured component is a test of everything that happened before it.
If the mixing and degassing stage is right, the odds of a reliable, cosmetically clean potting result climb sharply — batch after batch.
Test it with your own formula: send a sample of your potting compound to the SMIDA lab, and we will run the mixing and degassing process on our temperature-controlled machine, then show you the bubble and agglomerate levels before and after.
No obligation.

 Hot News